KALLA from Japan is one of them:
 Her design uses simple pattern in vibrant and bold colors. Her shop sells handmade goods with her print as well as fabric pieces for you to create something.
Umbrella Prints showcases subtle and modern design:
 Her design uses simple pattern in vibrant and bold colors. Her shop sells handmade goods with her print as well as fabric pieces for you to create something.
 2. Cut out the template for A. Puff Pillow Body and B. End Fold Template. Using template A, trace the outside of the puff pillow on the file folder or cover weight paper. Make sure to lightly mark the fold lines. Cut out the body of the puff pillow.
 3. Take template B and align it with one of the curved ends like you see in fig. 3. With a pencil lightly trace the fold line. Repeat this step on the remaining three rounded ends of the body.
 4. Figure 4A shows a map of all the fold lines, using a bone folder or the wrong side of a butter knife, score the FOLD lines.**** Scoring a piece adds a notch to the paper that makes it easier to fold. Place the ruler on the fold line and take the bone folder and run it along the length of the fold. If you do not have a bone folder you can use the back side (the un-serrated edge) of a butter knife. Do not press too hard, you do not want to rip or tear the paper.
 5. Using A. Puff Pillow Body as a guide, apply glue to the flap of the puff pillow on the outside. The flap will be folded on the inside of the puff pillow. Use binder clips to hold the end together until the area is thoroughly dry.
 6. To puff the pillow, take the ends and carefully work the scoring to fold them creating the pillow shape.
 Optional decoration can be added by using scraps or pieces of recycled paper to spruce up the package. I used a scrap piece of wrapping paper, an old piece of sheet music and some raffia to add a little color and texture to my pillow.
  Written by Kolleen Kilduff from Design by Night
  And if Baltimore's not your favorite city - well, we don't want to hear it! But you can find charming, romantic prints of almost any city you can think of. A couple of my favorites - New Orleans:
 Presses evolved over the next 500 years, but the practice of using lead type continues today. A more recent development is the photosensitive polymer plate, which allows any text or graphic to be turned into a relief printing plate. Most of the commercial letterpress printed items you see today are printed from polymer plates.
 Polymer plates allow for the deep imprint that most people associate with letterpress printing- the plate is inked and deeply pressed into the paper, leaving a trough that you can feel. However, this is not a historically accurate representation of the process; when most printing was done from lead type, a "kiss" impression was desired- using just enough pressure that the type printed clear, but did not imprint into the paper. Lead is a very soft metal and is easily damaged; creating the typical impression would squash the type into an unusable mess. However, the polymer plates allow for a deep imprint- and proof that the item was printed on a letterpress! The texture of this process is part of what sets it apart from digital and offset printing.
 You might think that many letterpress printed items are overpriced, compared to digital or offset printing, but most small printers use presses that require every single piece of paper to be placed by hand into the press, once for each color of the design. A 3-color wedding invitation represents a long, laborious process! Papers also add to the cost, as many printers prefer to use soft, thick cotton paper to maximize the impression.
 The next big occasion for sending greeting cards is Valentine's Day. This year, send your love with a handmade Valentine. This is Valentine is one of my recent listings and new favorite card.
Each workshop will emphasize important aspects of running a small business for creative professionals. All workshops will be both in-person on the art school’s campus as well as webcast online. Each workshop will be archived and available for anyone to view. To view archives, please visit www.mica.edu/spcs.
The first workshop, Realities of Running an Indie Biz will meet online on Tuesday, January 25th. It is open to the first 100 Etsy members to attend by visiting a link *they will update here at 6:30 p.m. ET on the 25th.* Bookmark this page and remember to pop in early so you get a spot! The link will not be live until 6:30 p.m. ET on the 25th, with the presentation starting at 7:00 p.m. ET. Attendance online is limited, so participation will be on a first-come-first-served basis.
Realities of Running an Indie Biz
Tuesday, January 25th, 7-9 p.m. ET
Your own business: will it be a dream come true — or a nightmare? This two-hour workshop is designed to give you a running start in the right direction. It combines a few key insights on “The Biggest Challenge” (selling your stuff) with useful tips and tricks. The last half-hour of the workshop will be used for questions and answers from the live audience and the online community.
The workshop leader, Greg Conderacci, brings 40 years of marketing and communication experience as a Wall Street Journal reporter, head of marketing for major companies, a sales coach, a business school faculty member, and as head of his own independent business, Good Ground Consulting.
Upcoming workshops include:
Tuesday, 2/22 Finding Your Market
Tuesday, 3/29 Tax Time
Tuesday, 4/12 Web Marketing
Tuesday, 5/3 Growing Your Arts Business
We're really excited about this collaboration, and will be announcing our own monthly workshops in the next few weeks, so make sure you keep an eye here for all the news!
 Ingredients:


 2. Pin the 4.5” flower base pattern to one end of the felt and cut it out. Cut a strip of felt 30” long by 2” wide.
  3. Snip the length of felt, creating a fringe effect. Make the cuts about a quarter of an inch away from the end. The individual snips should be between a quarter and three-eighths of an inch wide but they do not need to be perfect. The randomness of the size adds to the character of the flower.
 4. Thread your needle with approximately 25” of thread. Along the un-snipped edge, run a gather stitch the length of the fringe. Pull the gather as snug as it will go and tie off the end but do not cut off the excess thread.
 5. Starting at the end with the needle and thread, roll the fringe around itself stay stitching the end to keep it in place. After you have rolled the entire fringe upon itself and stitched to secure the shape, tie off and cut the excess thread.
 6. Glue the pin back to the center of the flower.
 7. Cut out the heart shaped pin cover from the remaining felt* and glue it over the base of the pin back. This covers up any glue and helps to secure the pin further.
 8. Apply an ample amount of glue the center back, sewn area of the flower and attach it to the pin base.
 9. To finish flower fluff and separate the petals. Take the scissors and randomly snip and shape the ends of the petals so they are not all at a perfect squared angle.
 Smaller Version: To make the smaller version of the flower pin, use the 3.25” base and on step #2 cut the long piece of fabric so it is 30” long
 Extra Moisturizing Cupcake Bath Bomb, Pink Grapefruit, Bergamot, Clary Sage and Shea Butter by Green Bubble Gorgeous
 Bubble Dough Solid Bubble Bath by WicksandWorx
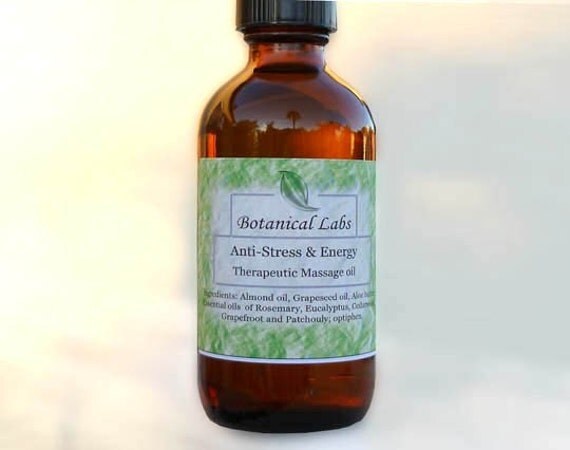 Therapeutic Organic Massage Oil -Anti Stress and Energy Bath and Body Oil by BotanicalLabs
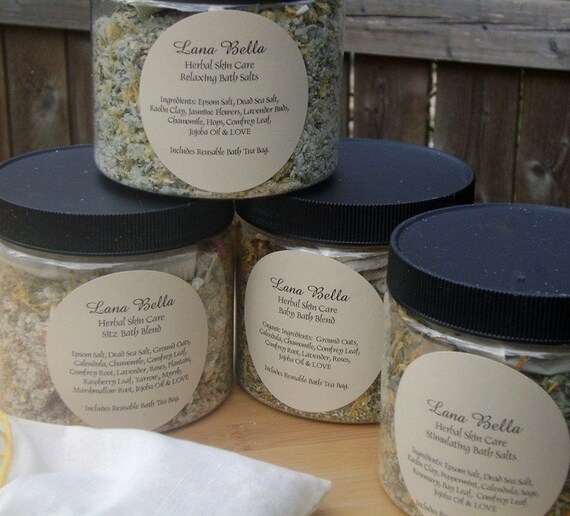 Relaxing Bath Herbal Bath Tea Salts by Lana Bella


 LunaClayDesign